Map Quilt tutorial

Stars and Stripes, 2010, 18" x 26"
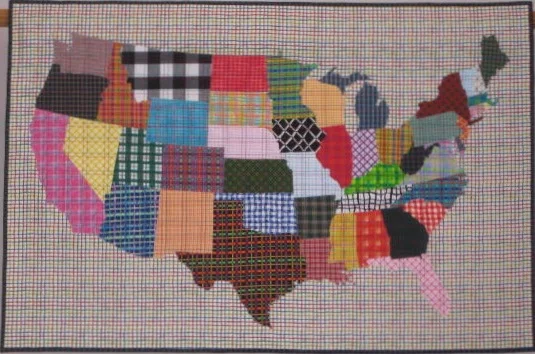
Plaid to be an American, 2010, 27" x 41"
On several occasions, I have been asked if I sell the pattern for my map quilts. I don't. Instead, I just tell people how I made mine.
There are two key supplies I used to make my U.S. map quilts -- a map of the U.S. printed on poster board and a copier. I bought my map at a classroom supply store. And, conveniently, I have a copier in my home.
Other supplies were:
- fabric for all the states (I used a different fabric for each one)
- copier paper
- fusible web
- muslin (to serve as a foundation)
- thread to stitch the states together (I used clear thread)
- a background fabric
- batting, a backing fabric and fabric for the binding (and for an optional hanging sleeve)
- sewing machine with a zigzag stitch
- usual sewing supplies (scissors, pins, iron & ironing board, etc.)
I realize that Alaska and Hawaii are missing from my maps of the U.S., and I don't mean to slight those states. But I just wanted to make the shape of the contiguous 48 states for my quilts. You certainly could add them to your quilt if you so desired.
With the sturdy map and my copier, I simply made copies of every state to use as my pattern. Since I had to curl the map at times to get at some states, avoiding the copier cover, that's why I suggest a map printed on poster board. It's going to get a lot of use. And you have to make sure that every state lies completely flat on the glass when being copied so the resulting image is not warped in any way.
For "Star and Stripes," the challenge I gave myself was to use only fabric with either stars or stripes on them. And after meeting that challenge, for my second map quilt, I used only plaid fabrics. I couldn't resist calling it "Plaid to be an American" and had fun matching plaids with certain states, like making Wisconsin from a cheddar-hued plaid and Florida from a flamingo pink plaid.
When making both quilts, once I had a pattern for a state and a fabric from which to make it matched up, I ironed a piece of double-sided fusible web, cut so that it was slightly larger than I needed, on to the wrong side of the selected fabric. I then pinned the pattern piece to the right side of the fabric, making sure the fabric was oriented as I wanted it to be, and cut out the shape. Using an oversized piece of fusible ensured that the fusible went to every edge of a state's shape.
I started in the middle of the contiguous states -- Kansas -- and worked my way outward from there, selecting fabric and state match-ups as I went and making sure to have contrast between the fabrics of any states that touched each other. Once I had all the individual states made, I used a piece of muslin, bigger than the size the states would be when combined, as a foundation. One by one, again starting from the center and moving outward, I butted the states up next to each other and, with a hot iron, fused them to the muslin foundation. Once all the states were fused to the foundation, I trimmed the muslin even with the edges of the perimeter of the combined shape.
Next, I stretched out and taped down my backing fabric (wrong side up) to my surface, layered the batting & background fabric (right side up) on it and smoothed out any wrinkles. Then I positioned the combined states shape on top of the background fabric where I wanted it. I then pin-basted all four layers together.
Then I secured the individual states in place by sewing every state border using clear thread and a zigzag stitch. I made sure the zigzag stitch was wide enough to catch and secure both states on every line where I sewed. And when all the state borders had been stitched, I zigzagged around the perimeter of the combined shape. The securing of the states also served as the quilting for the interior of the quilt, further highlighting their different shapes. For the area of the quilt top around the states, I added simple quilting using a straight stitch. Finally, I trimmed the quilt down to the size I wanted it, added a binding around the perimeter of the quilt and a hanging sleeve & label on the back of the quilt. Voilà!
Keep in mind that you can make a quilt a different size than your map by playing with the sizing on your copier. My first quilt map was made at 120% -- or 20% larger than the map I bought. And for my second map quilt, I bumped the size up to 200%, for a contiguous U.S. that was twice the size of the map I used. Of course the important thing to remember when changing the size is to keep it consistent throughout your pattern making. Otherwise your states won't fit together in the end.
Another tip is to add vertical lines to the map before you start copying it to make pattern pieces. I found these lines helpful to keep the fabrics in the orientation I wanted once a pattern piece was separated from the rest of the composition. The lines were especially helpful with when working with all the plaid fabrics, to keep them all going in the same orientation. Of course having the plaids go in all different directions could be fun too. I just depends on the look you are going for.

Poster board map I used, sourced from a classroom supply store; measured 17" x 22" overall
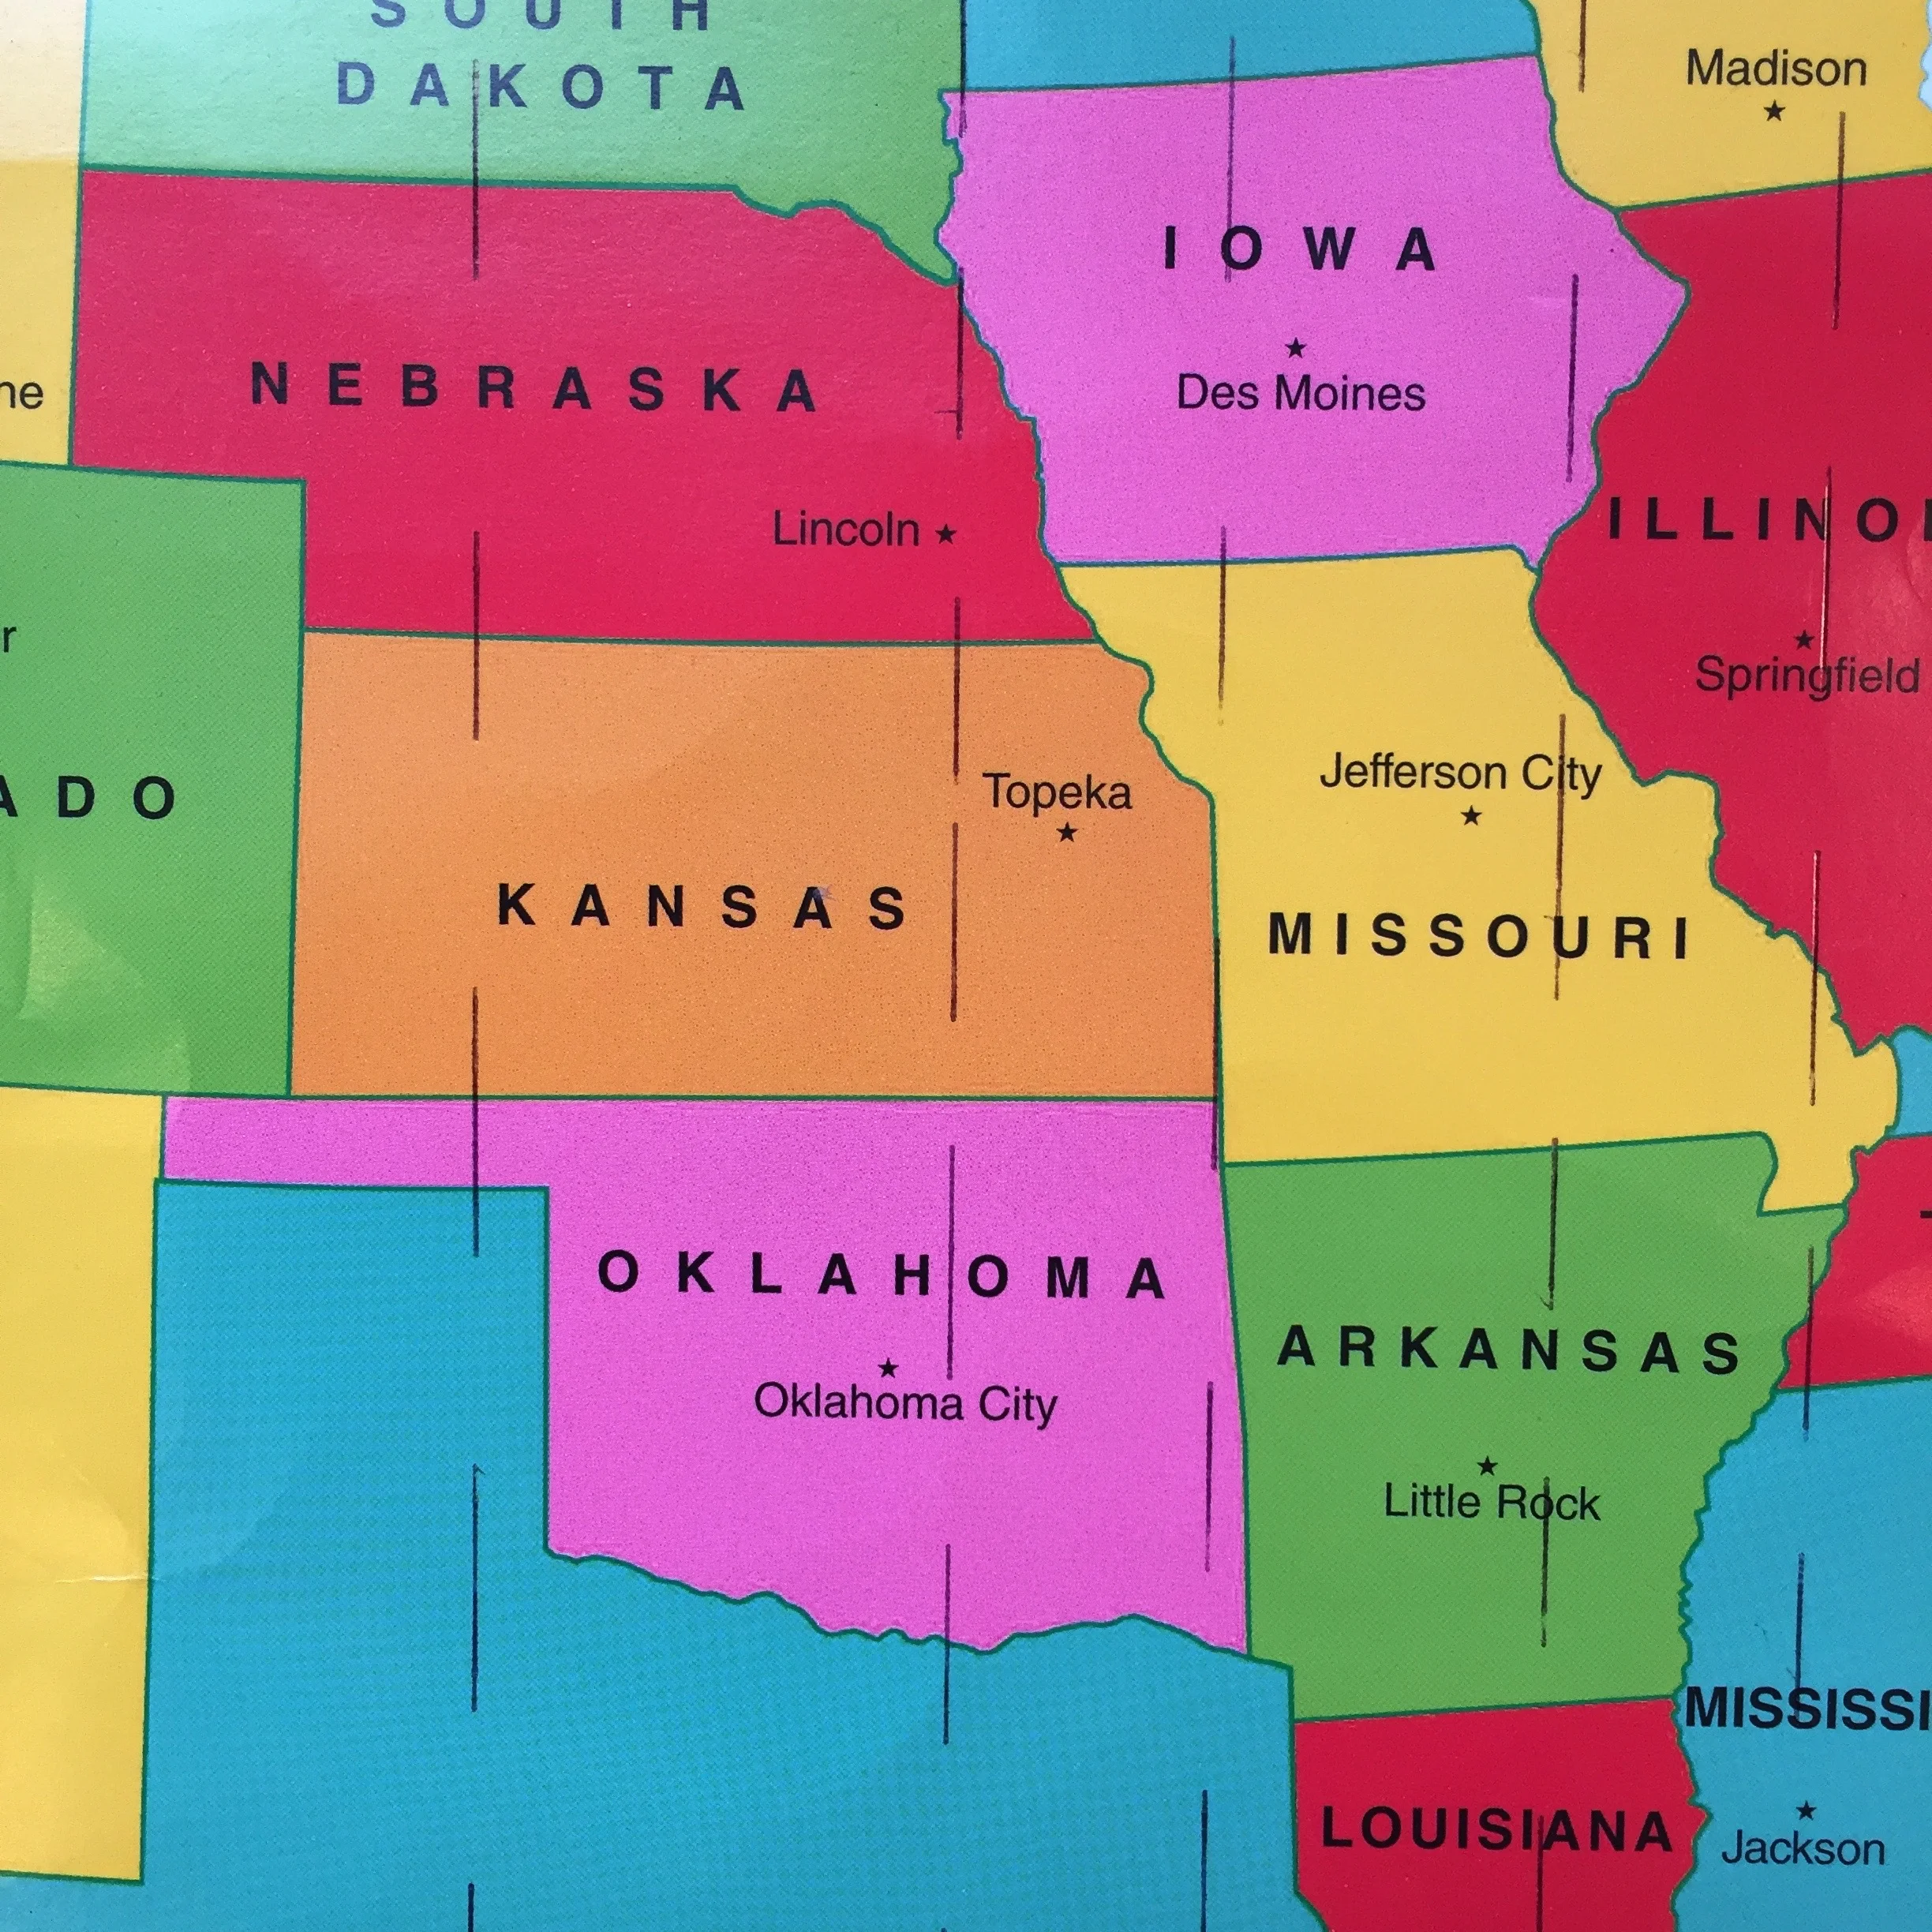
Close up of the map with the vertical lines I added to keep fabrics in the orientation I wanted